CI/CD Automation for Splunk Apps using Github Actions
Do you build apps the old-fashioned way? Are your app files under development stored locally on your hard drive? Do you complete most of your steps by hand, with individual CLI commands, such as when you make SPL packages or validate them with AppInspect? If you're a Splunk power user who has built your own searches and dashboards, that local, manual approach is typically all you need. But when you're ready to share any solution with others in your enterprise and collaborate with a team building your Splunk solution, you're probably ready to take the next step.
This blog is part one in our "DevOps for your Splunk App" series, and will help you replace local, by-hand app development with a fully source-controlled, CI/CD-automated workflow. You can instead do all this automatically and with publicly available tools for free!
DevOps for Your Splunk App
CI/CD is the DevOps approach you'll employ to accomplish this. If you've never done this before, you've come to the right blog. If you have set up automated workflows already but with another tool such as GitLab or BitBucket, this refresher shows the same thing, but specific to GitHub and its actions.

CI/CD with GitHub Actions
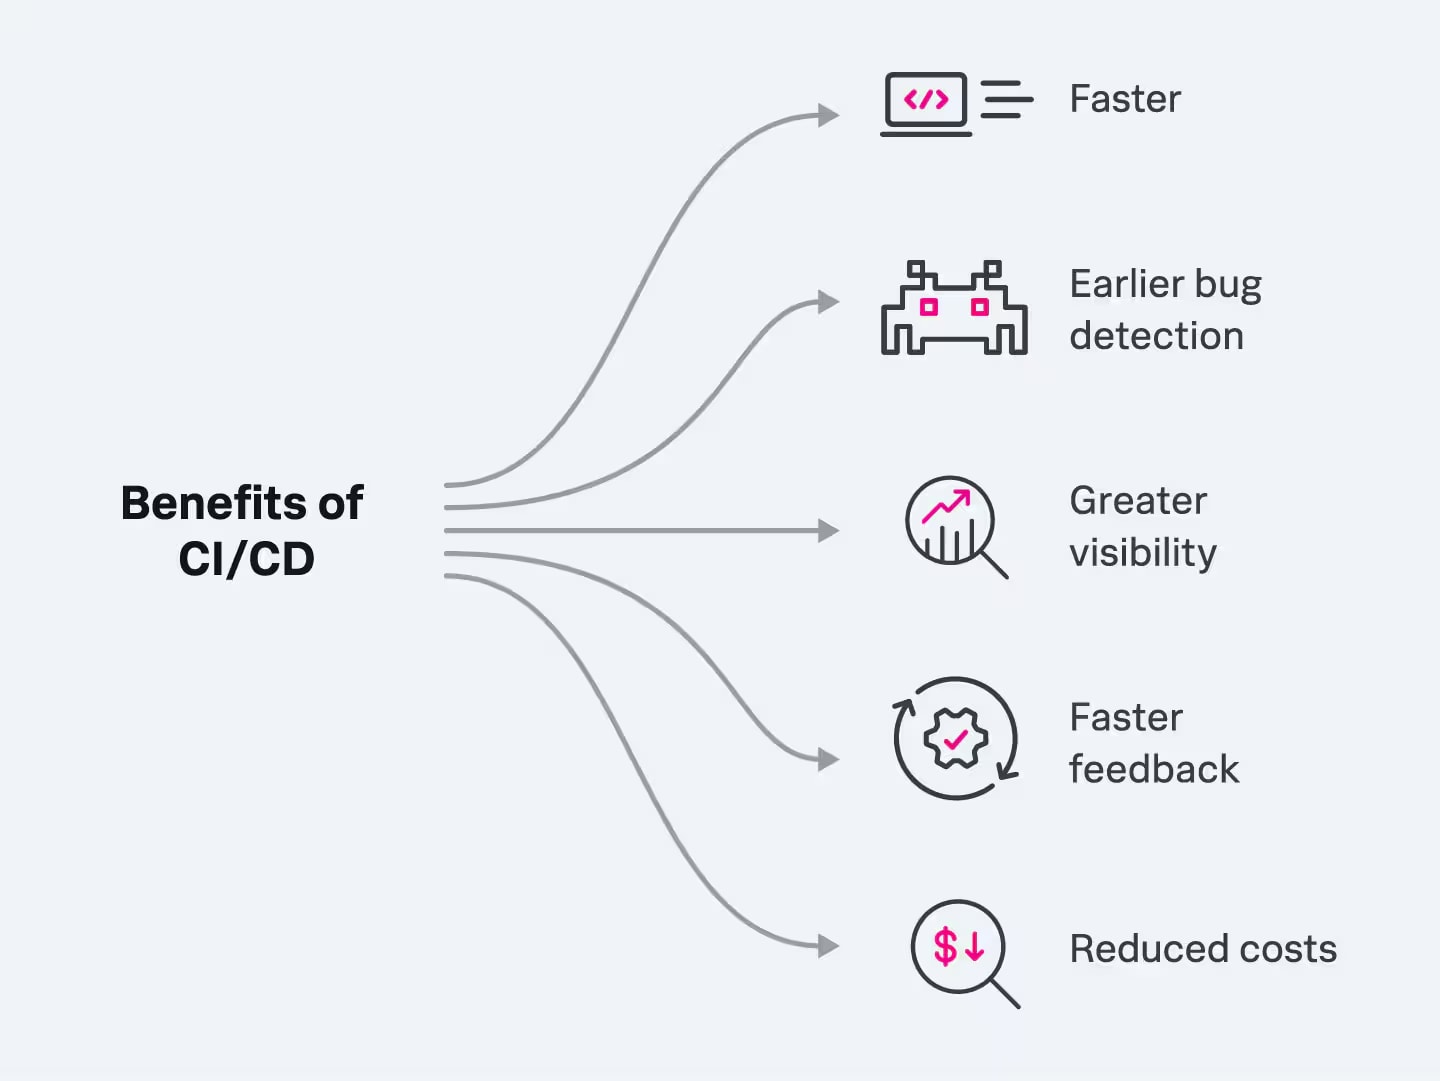
Continuous Integration/Continuous Deployment (CI/CD) processes make app development, testing, packaging, validation, and releases more efficient and scalable. Continuous Integration is the practice of integrating all your code changes into the main branch of a shared source code repository early and often, automatically testing each change when you commit or merge them, and automatically kicking off a build. Continuous Deployment is a practice that enables organizations to deploy their applications automatically, eliminating the need for human intervention. CI/CD is used for faster, collaborative development, earlier bug detection, greater visibility, faster feedback, and reduced costs.
Many CI/CD solutions for source control and workflow automation work well with Splunk apps. Here, you'll use GitHub actions, integrated with Git source control. You'll check your app source code into a source control system (Git), and move it to the GitHub cloud service. Then, from GitHub, you'll attach actions to automatically run when any source files are changed. The features are similar to those in many other source control and automation systems, such as GitLab or CircleCI, but syntax and details differ by system. You should be able to transfer the principles shown here to any similar environment.
Source Control
Source control manages the files of your application, tracking changes, and facilitating review, acceptance, or rollback of changes to source code. You'll use Git as the standard local CLI-based source control repository tool, and GitHub as its web-based interface for integration with collaborative CI/CD features.
First, check to see if you have Git:
1. Open your command line window. (Mac Terminal, Windows Command Prompt, Linux Bash, Z Shell.)
2. Type
git --version
and press enter.
3. If you have Git, you should receive its version number:
git version 2.26.0
Any version should work; yours might differ from 2.26.0.
4. If you do have Git, you're set and can proceed to the next section about your GitHub account. If not, you need to install Git: Git - Downloads. You won't be ready to proceed to the next step (GitHub) until you've completed Git installation and confirmed the version check, as shown above.
When ready, sign in with a GitHub account:
1. Go to https://github.com/ to sign in with a GitHub account. If you don't have a GitHub account yet, follow their instructions to sign up for a new one. Or, use your existing account if you have one.

2. Once you're signed in to GitHub, go to your account root (https://github.com/yourname), where yourname is your GitHub username.
3. From this page in GitHub, select the Repositories tab.

If this is a new account, you should not yet have any repositories. Otherwise, you might see existing repositories for other projects. Either way, you'll add a new repository for this blog exercise.
Next, add a new repository:
1. Select New to create a new repository.

2. For the repository name, enter devtutorial-conf24, which should be available. Set your username to the owner, and leave other settings unchanged.
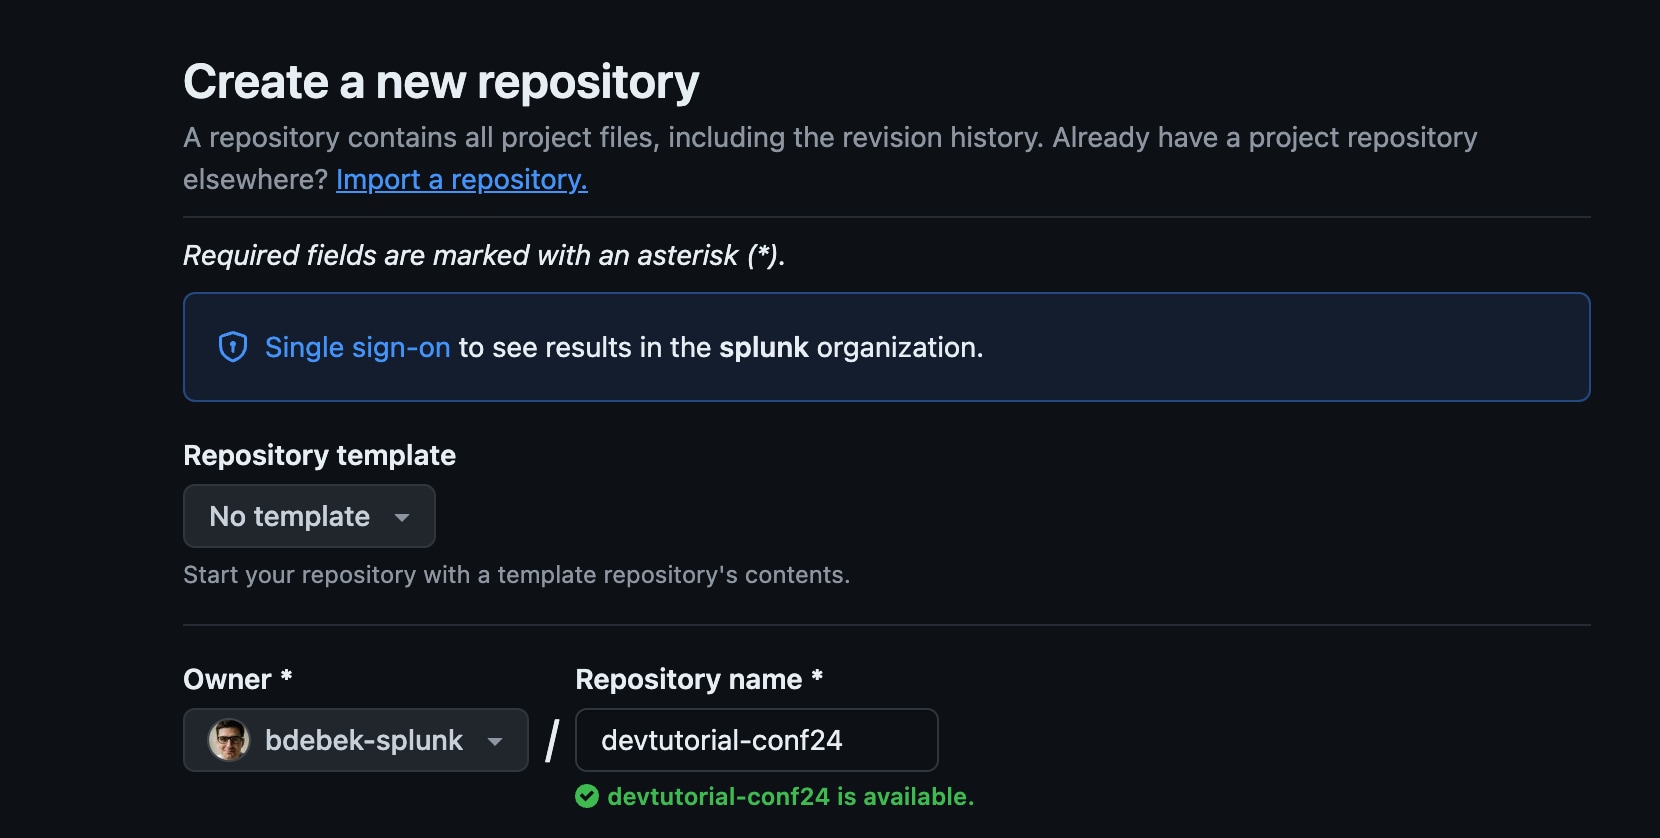
3. Select Create Repository in GitHub. When complete, you should see the repository page for devtutorial-conf24 within your GitHub account. Your browser address should be at https://github.com/yourname/devtutorial-conf24, with yourname as your own GitHub username.
You are now offered different ways to get started on GitHub. For this exercise, go to the next section to create the repository using the command line.
Set Up Your Local Repository
If your Git installation is new, you must set up the git user.name and email with your credentials, which should be the credentials you also use for GitHub. To check this, go back to your command line window and enter this git command:
git config --list
If set, you'll see user.email and user.name. If they are set to different values that don't correspond to GitHub, or not set at all, you must do so by entering:
git config user.email "address@domain.com"
git config user.name "yourname"
Where address@domain.com is the email used for your GitHub account, and yourname is your GitHub username.
Add your App to Source Control
Now go to the directory where you have the source for a Splunk app on your hard drive (for example, $SPLUNK_HOME/etc/apps/devtutorial). Enter the specific app location for your system, such as:
cd $SPLUNK_HOME/etc/apps/devtutorial
Any existing app should work, but if you want to acquire and use the specific devtutorial app shown in screenshots in this blog, you download devtutorial:
1. Go to https://github.com/splunk/splunk-app-examples and click Code > Download ZIP.
2. Extract the contents of the splunk-app-examples-master.zip downloaded file to your local hard drive.
3. From the extracted contents, copy the /tutorials/Module-01_GetStarted/devtutorial subfolder to your $SPLUNK_HOME/etc/apps folder.
When your current location in your command line terminal is at the root of the app you want to add to GitHub (whether devtutorial or another), you're ready for the next step, adding the app to source control.
1. Enter the following commands to create the first commit and name the local branch main:
git init
git add .
git commit -m "first commit"
git branch -M main
2. Set your remote repository and push your local files to it. Remember to change yourname to your GitHub username in the command:
git remote add origin
https://github.com/yourname/devtutorial-conf24.git
git push -u origin main
3. If you haven't done this before, you might need to authenticate. If so, there might be a pop-up window to sign in to your account, so complete that process. If you have used Git with GitHub before, authentication should not be necessary.
4. When your credentials are accepted, Git should respond with a message specific to your pushed files, such as:
Enumerating objects: 15, done.
Counting objects: 100% (15/15), done.
Delta compression using up to 12 threads
Compressing objects: 100% (10/10), done.
Writing objects: 100% (15/15), 1.89 KiB | 970.00 KiB/s, done
.Total 15 (delta 0), reused 0 (delta 0), pack-reused 0
To https://github.com/username/devtutorial-conf24.git*[new branch]      main -> main
Branch 'main' set up to track remote branch 'main' from 'origin'.
5. Verify that your local Git repository is now pushed to GitHub by refreshing your corresponding GitHub page (https://github.com/yourname/devtutorial-conf24). You should see your local repository mirrored on the website:
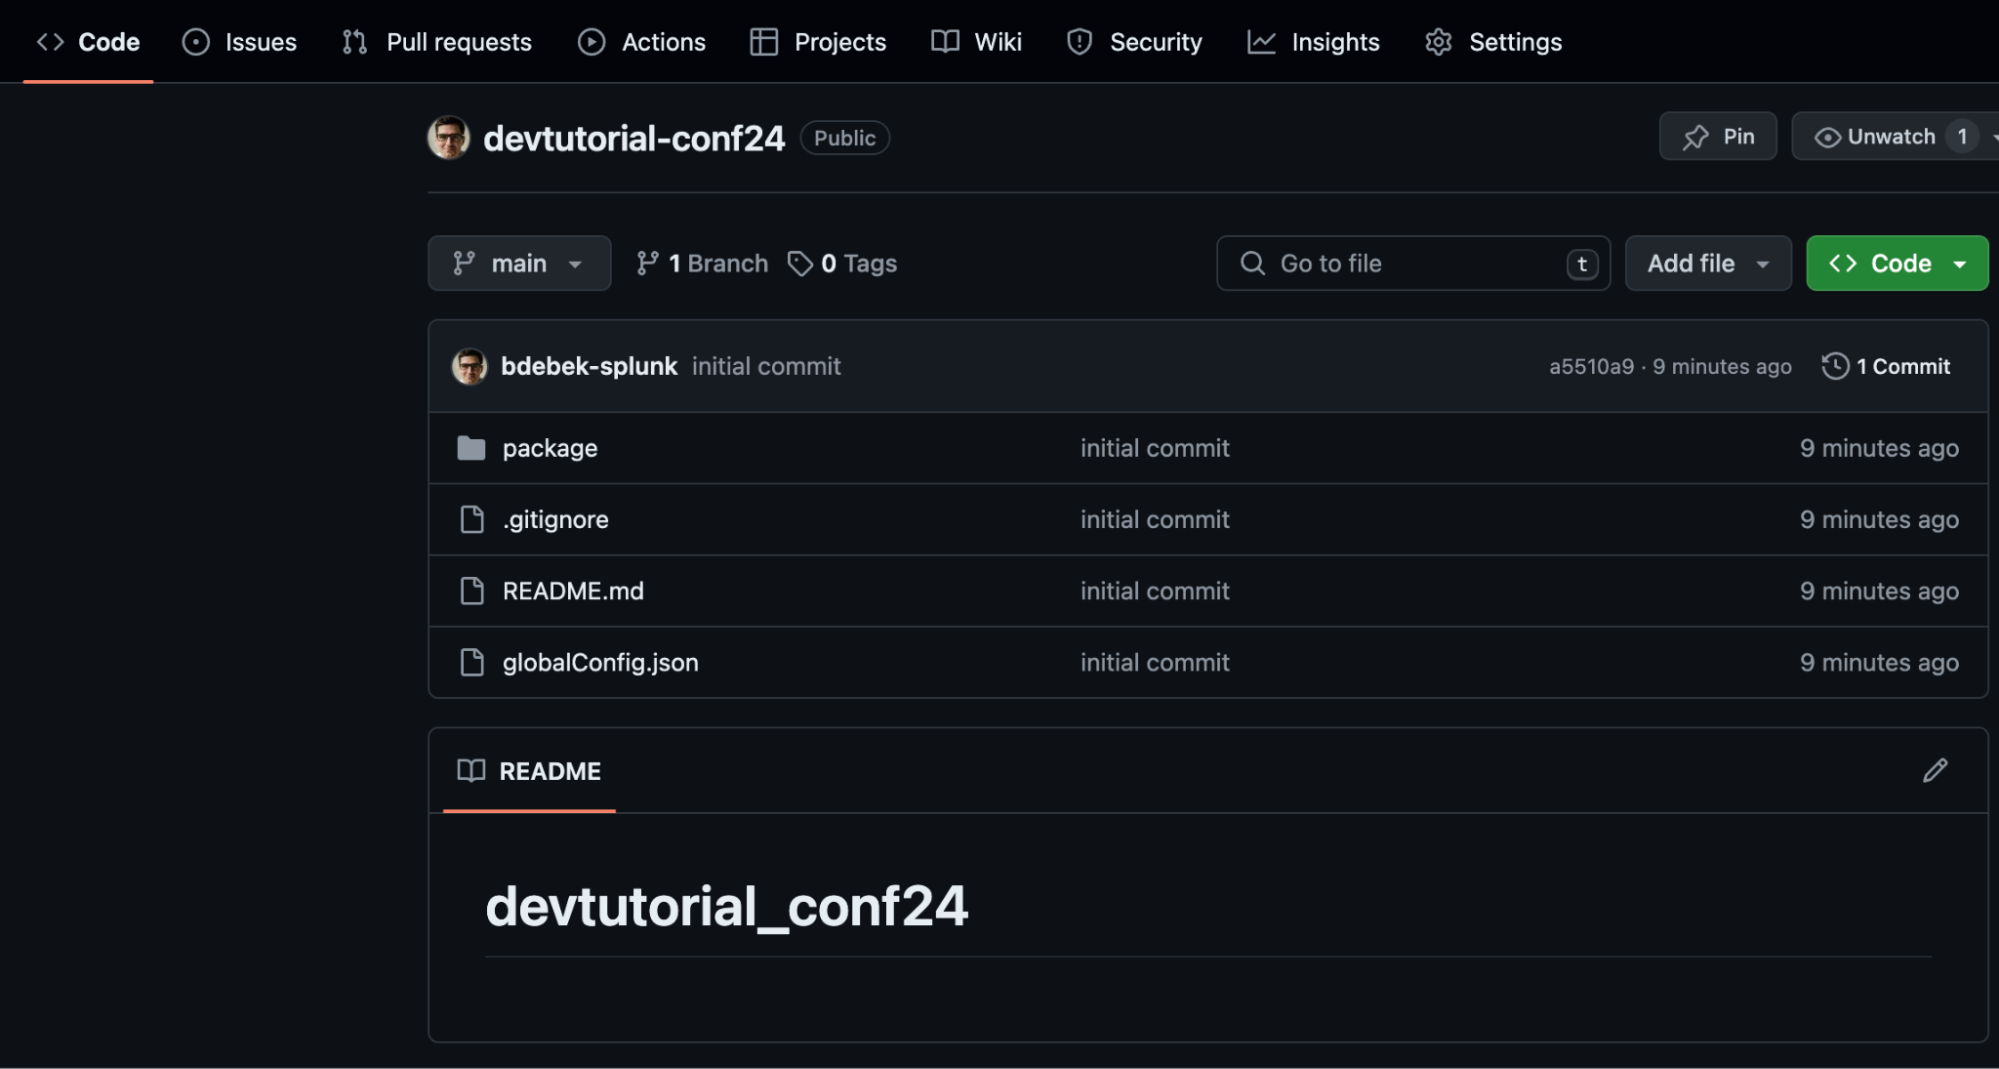
That covers source control with Git and GitHub. Next, you'll add automation actions to your repo.
Set Up Actions
In the next steps, you'll set up GitHub Actions to trigger when you make changes to the app source code. Specifically, you will:
- Create a main.yml file that will define our workflow
- Add a job to package the app in standard Splunk format
Creating main.yml File
You'll add a YAML file to contain your workflow with these steps.
1. Select the Actions tab while in your repository:

2. Choose the option to set up a workflow yourself:

3. In the code editor, a new main.yml file is open.
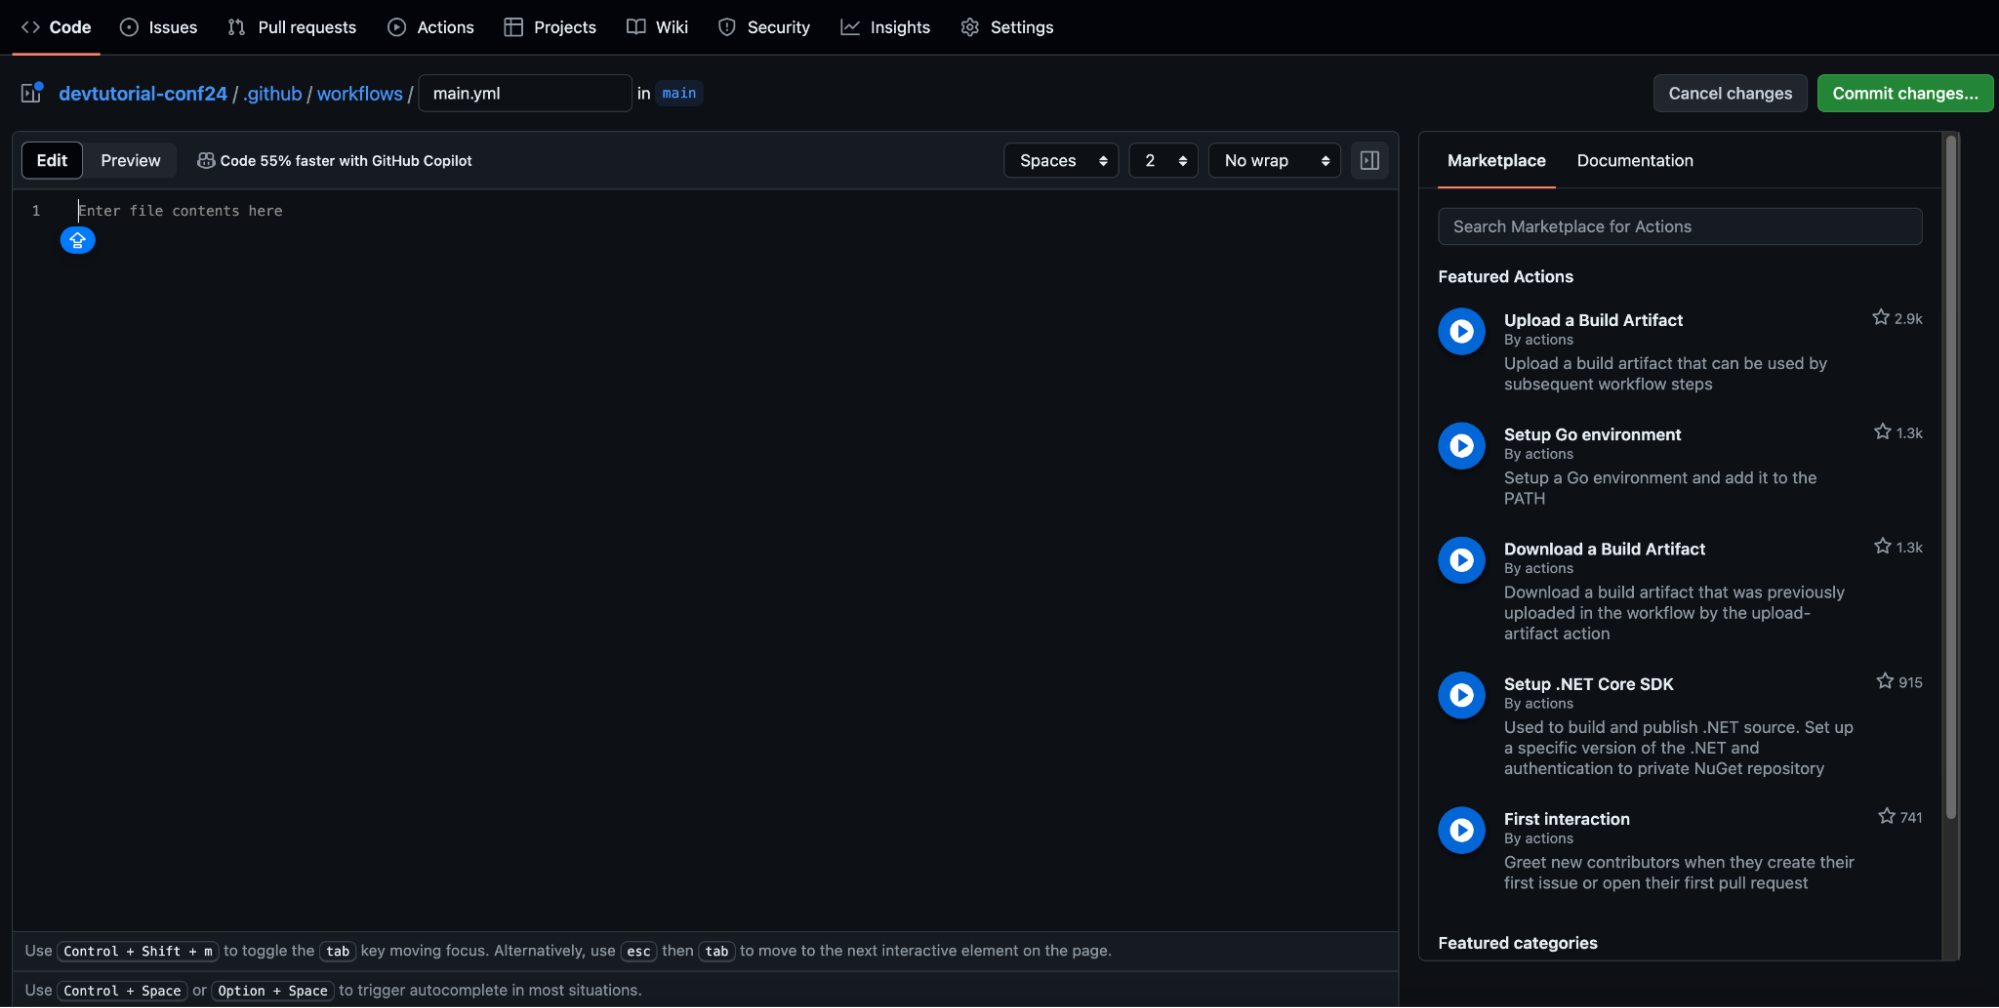
This is where you'll edit and save automation workflow jobs.
Defining the First Job in the Workflow
You will name the workflow and define what branch it should be triggered on. You want it to run when there are changes pushed to the main branch as well as pushes with tags starting with “v”. Remember, when editing YAML files, indentation is very important. Don't change the indentation from what is provided!
- Add this YAML text to main.yml:
name: build-test-release
on:
    push:
        branches:
            - main
            - 'ex*'
        tags:
            - 'v*'
if you have any trouble copying/pasting, you can double check your code against the sample provided in this repo: https://github.com/bdebek-splunk/devtutorial-conf24-final
For the workflow to run, you also need to define a job. Your job should create a tar file from the app repository. To do this, you can use the Splunk UCC Framework. Specifically, you'll call the ucc-gen build and ucc-gen package commands.
- Add the following lines to the bottom of the main.yml file, without changing the YAML content you added in the previous step:
jobs:
    build:
        runs-on: ubuntu-latest
        steps:
            - name: Checkout repository
               uses: actions/checkout@v2
            - name: Create subfolder
               run: mkdir my-package
            - name: Install UCC
              run: |
                    pip install splunk-add-on-ucc-framework
                    pip install splunk-packaging-toolkit
            - name: Build an app using UCC
                run: ucc-gen build
            - name: Create tmp folder
               run: mkdir app-dir
            - name: Create package
               run: ucc-gen package --path output/devtutorial_conf24 -o app-dir/
            - name: Upload package
               uses: actions/upload-artifact@v4
               with:
                    name: my-package
                    path: app-dir/
There's a lot there; to explain:
- The job needs a specific server provided by GitHub to run. With runs-on: you're choosing the latest Linux Ubuntu server (ubuntu-latest).
- When code is checked out (the job named Checkout repository), you use actions/checkout@v2.
- To create a needed folder (the job named Create subfolder), use the Ubuntu mkdir command.
- To be able to employ Splunk UCC and the Splunk Packaging Toolkit you must install them into the Ubuntu runner. This job is named Install UCC and uses the pip command.
- To build an app from Splunk UCC, the job is named Build an app using UCC. It uses the ucc-gen build command.
- To build the package (the job named Create package), use Splunk UCC ucc-gen package command.
- To upload the package, the job is named Upload package and it uses another GitHub action: actions/upload-artifact@v4.
For more details about these commands, you can see the documentation for GitHub runners, GitHub actions, Linux Ubuntu commands, and Splunk UCC and Splunk Packaging Toolkit. However, all these docs are on other sites, and you don't want to lose your spot in this blog, so the links are provided at the end of this page.
Push Changes
Now it is time to commit and push these changes, so you can see your workflow run.
- Click Commit changes… and then again Commit Changes. (You don't need to provide an extended description.
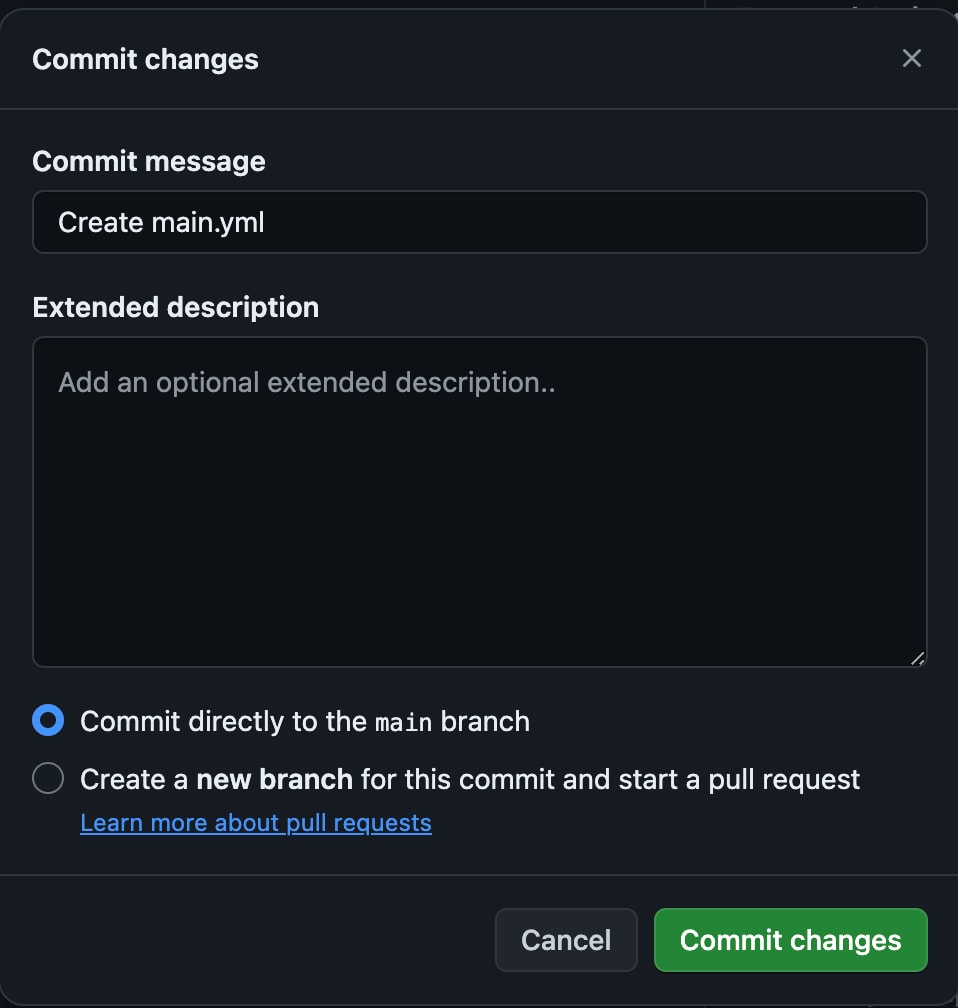
When this job runs, it will package the app (including only the necessary files) then save it as an artifact that can be accessed by future jobs.
Check It Out
You can try your GitHub Actions automation now after committing and pushing your code.
1. Go to the Actions tab in the repository screen:

2. You should see that the job ran successfully and that the artifact (my-package) was created. You might need to refresh the tab to see the uploaded artifact.


That's it for setting up a workflow with a packaging job with Github Actions. Congratulations!
As you can see, GitHub actions are easy to use and useful for automatically packaging your app. Actions really make your app development more powerful and efficient, once you're set up. You've made the transition from being a "lone, local, manual" app builder to using a fully source-controlled, DevOps automated CI/CD framework. And this is only the beginning of what you can do. In the next part of this series, you'll add more jobs to your automation:
- Add a job to test our app using Appinspect CLI and output the JSON report
- Add a job to test our app using Appinspect API and output the HTML report
- Run tests with different versions of Splunk Enterprise in separate Docker containers and install a version of Splunk given as an argument (in our case 9.0 and 9.2.1)
- Upload the test framework report in HTML format as an artifact
- Create an app release using automation tokens and tags
More Information
Here are more blogs and sites if you'd like to learn more about the technologies shown in this exercise:
- CI/CD backgrounder
- GitHub runners
- GitHub actions
- Ubuntu commands
- Splunk UCC framework
- Splunk Packaging Toolkit
Next, go to part two in this series and if you have any questions, reach out to us on #appdev (Join Slack here). And don’t forget to sign up to get important and exciting Splunk Developer news + content right in your inbox!
Related Articles
About Splunk
The world’s leading organizations rely on Splunk, a Cisco company, to continuously strengthen digital resilience with our unified security and observability platform, powered by industry-leading AI.
Our customers trust Splunk’s award-winning security and observability solutions to secure and improve the reliability of their complex digital environments, at any scale.


