What’s New in the Splunk Machine Learning Toolkit 4.3

Another release of the Splunk Machine Learning Toolkit (MLTK) is hot off the press and ready for you to download. This is our third release on the path to .conf19, and we have a lot of new customer-focused features and content specifically designed to make machine learning-driven outcomes accessible, usable, and valuable to you. This release is all about making machine learning outcomes easier to build and operationalize with our first Smart Assistant, as well as highlighting other helpful enhancements to the MLTK you know and love.
New Content Highlights
New Smart Assistant: Smart Forecasting
The current MLTK Assistant workflows (for example, Predict Numeric Fields) were launched 3 years ago and have been very successful at accelerating customers’ efforts to build outcomes. The workflow cross pollinated with the Splunk Essentials line to accelerate customer success in other domains as well, including: Splunk Security Essentials and Splunk Essentials for the Financial Services Industry. The new Smart Assistant workflows build on that success presenting a more conversational and friendly approach to building and implementing custom outcomes in Splunk, walking you through each stage of the process and reducing the need to write SPL.
High Cardinality Categorical to Numeric Transformation Support
Are you worried about the curse of dimensionality? Does one-hot encoding not cut it for your categorical fields with too many unique values anymore? Well, don’t you worry. We are releasing a new algorithm that can be used to transform categorical fields to numeric ones in classification problems. NPR—short for Normalized Perich Ratio—algorithm creates C new numeric fields with any given categorical field, where C is the number of class labels. This is while one-hot encoding creates N new fields, where N is the number of unique categorical fields. In reality, N is usually much greater than C.
In the following example, we use the NPR algorithm to create numeric fields from State for a classification task on Churn.
| inputlookup churn.csv
| fit NPR "Churn?" from State into NPRModel
| fit LogisticRegression fit_intercept=true "Churn?" from NPR* "Day Mins" "Eve Mins" "Night Mins" "Night Charge" "Int'l Plan" "Intl Mins" "Intl Calls" "Intl Charge" "CustServ Calls" "VMail Plan" into ChurnModel

Quick Customer Ask on DensityFunction
The DensityFunction now supports the “as” clause so you can rename your outlier fields quickly for the stacked DensityFunction searches you have been writing.
Preparing Your Data for Machine Learning
We're invested in your success with our new product documentation starting with 4.1 and continuing into this release. Check out the new documentation on preparing data for Machine Learning.
A Deeper Dive Into the New Smart Forecasting Assistant
Smart Assistants leverage the Experiment Management Framework, an automation and management system to organize your ML outcomes. It makes machine learning outcomes achievable by Splunk users with limited to no SPL experience. With the new assistant, users can now define the data using both search and Dataset.
There are 4 stages in the current Smart Assistants to guide you through the workflow—Define stage to select any data in Splunk, Learn stage to interact with the data and build your model, Review, and Operationalize stage to optionally automate your model in production. I said this was a conversational approach to analytics, so let’s go through one of the vertical examples we pre-loaded into the MLTK showcase examples.
I am forecasting the count of maximum number of logins to an app for the month of January 2019 using 8 months of app usage data. We will be adding Calendar holidays as special days to let the algorithm know about contextual periods of time that should be treated differently.
Let's move through the stages of Define, Learn, Review, and Operationalize to draw in data, build model, and put that model into production.
Define
Define the data using Search and Dataset, which makes machine learning outcomes achievable by Splunk users with limited SPL experience. In the example below, we are defining our data as the maximum count of logons to an application per day. Check the preview and visualization section to look into the data and click Next.

Learn
In the Learn stage, interact with your data and build a smart forecasting model that also takes into account “special days.” Forecast the time series data with the option of adding special days using join special time entries to account for "special days" such as holidays and company-specific event days. This will join special days which are listed calendar holidays for the year 2018 and month of January 2019. Check the preview and visualization section to get a look at your data.

Select the field logons with a future timespan of 30 days and Holdback of 10 days to forecast the data into the future. Look into the preview and visualization section to see the forecasted data. For this example, keep the default confidence interval set to 95. Tooltips have been added for each of the parameters. As you work through the Smart Forecasting Assistant, SPL is created for you and can be viewed via the SPL button. A plain english summary has been provided at the top to describe the values selected for forecasting the application logons to help clarify what your model is doing. Additionally, changes to the experiment are tracked and can be viewed by clicking View History.
Click Next to review your completed model.

Review
From the Review stage, you can see your model’s forecast accuracy based on the parameters selected in the Learn stage. The panels on the Review page let you confirm you are seeing good results prior to putting this model into production. Use the provided model statistics from R2 and RMSE to assess model accuracy and error rate.
Two other important features to be aware of are Forecasted value in future and Earliest Threshold breach. Forecasted value helps to select a date and see its forecasted value at the selected future time and Earliest Threshold is the ability to set a threshold to know: How much time is there before a metric reaches a certain value?
As shown below, I have selected January 12th 12.00am to look into the forecasted value at this time. For the Earliest threshold breach, I have added a condition to show me in how many days my number of logins will be greater than 120. The lower and upper boundary is based on the selected confidence interval.
Click Save and Next.

Operationalize
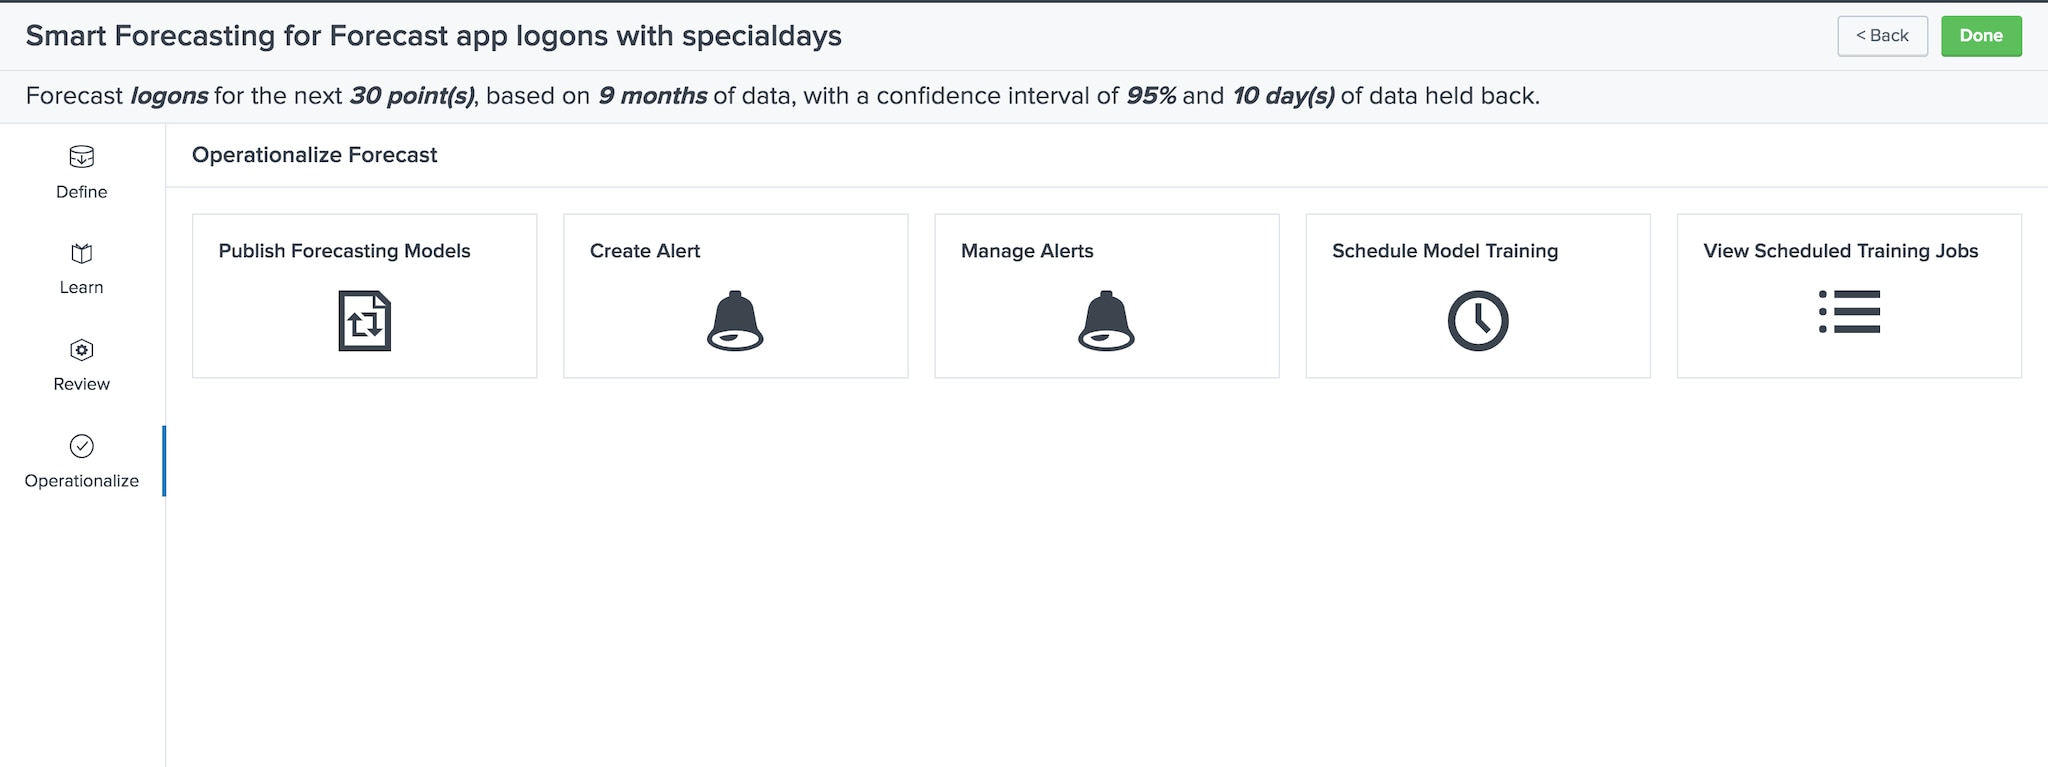
The Operationalize stage provides publishing, alerting, and scheduled training in one place. Click Done to move to the Experiments listings page.

Interested in learning more on StateSpaceForecast algorithm, check out the Splunk Machine Learning Toolkit 4.2 blog post for detailed information on it.
Check Out These Other Resources
For an in-depth look at how to use the MLTK, check out these webinars:
- Getting Started with Machine Learning
- Splunk's Machine Learning Toolkit: Technical Deep Dive and Demo Part 1
- Splunk's Machine Learning Toolkit: Technical Deep Dive and Demo Part 2
- Machine Learning in Action: Stop IT Events Before They Become Outages
Learn how Splunk customers are using the Machine Learning Toolkit to generate benefits for their organizations, including Hyatt, the University of Nevada, Las Vegas (UNLV), and Transunion.
Interested in trying out the Machine Learning Toolkit at your organization? Splunk offers FREE data science resources to help you get it up and running. Learn more about the Machine Learning Customer Advisory Program.
----------------------------------------------------
Thanks!
Iman Makaremi
Related Articles
About Splunk
The world’s leading organizations rely on Splunk, a Cisco company, to continuously strengthen digital resilience with our unified security and observability platform, powered by industry-leading AI.
Our customers trust Splunk’s award-winning security and observability solutions to secure and improve the reliability of their complex digital environments, at any scale.


